This free online converter makes converting PDF files to PES easier than ever
X
This article was co-authored by wikiHow Staff. Our trained team of editors and researchers validate articles for accuracy and comprehensiveness. wikiHow's Content Management Team carefully monitors the work from our editorial staff to ensure that each article is backed by trusted research and meets our high quality standards.
This article has been viewed 47,422 times.
Learn more...
This wikiHow teaches you how to create a PES stitching image out of a PDF file, using a Windows computer. You'll have to quickly convert your PDF file to a PNG image first, and then use PE-Design to create your PES stitching.
Steps
Part 1
Part 1 of 2:
Converting PDF to PNG
-
1Open Online2Pdf.com in your internet browser. Type online2pdf.com into the address bar, and hit ↵ Enter or ⏎ Return on your keyboard.
- Online2Pdf is a free, third-party file-converter website you can use in your internet browser.
-
2Click the gray Select files button. This button is in the lower-left corner of the page. It will open a new file explorer window, and allow you to select the file you want to convert.Advertisement
-
3Upload the PDF file you want to convert. Select your PDF file in the file explorer window, and click Open.
-
4Click the drop-down menu next to "convert to." You can find this button at the bottom of the page. It will open a list of all the file types you can convert your PDF to.
-
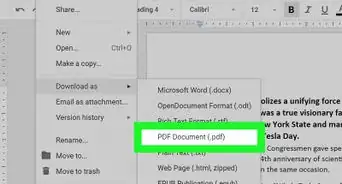
5Select PNG image files (*.png) on the drop-down menu. When this option is selected, the converter will create a PNG image file out of your uploaded PDF.
-
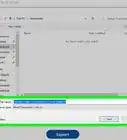
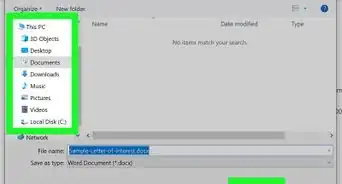
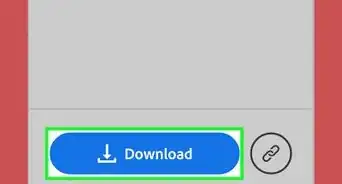
6Click the red Convert button. You can find it at the bottom of the page. It will upload your PDF file, convert it PNG, and download a copy of the converted PNG image to your computer.
- If you don't have a default folder for your browser downloads, you'll be prompted to select a saving location for the download.


Advertisement
Part 2
Part 2 of 2:
Creating a PES File
-
1Open the PE-Design program on your computer. PE-Design will allow you to create a PES embroidery file based on the PNG image you have.
- If you don't have PE-Design on your computer, you can download the trial version from here.
-
2Click the Create Embroidery Patterns Using Images option. You can find it below the "Create With Ease" heading on the top-left. It will open a new window, and prompt you to upload your image file.
-
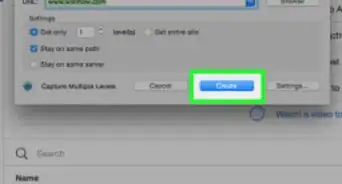
3Upload your PNG image file to PE-Design. Select the PNG file you want to use, and click Open in the lower-right corner of the pop-up window.
-
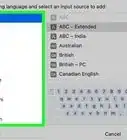
4Select the stitching method you want to use. You can select Auto Punch, Cross Stitch, Photo Stitch 1, or Photo Stitch 2 here.
- For some of the stitching methods, you will also need to select a color scale like Color, Sepia, Gray, or Mono.
- You can see a preview of your stitching in the lower-left corner of the pop-up window.
- Click Next at the bottom to confirm your stitching method.
-
5Select a mask for your stitching. Click a mask on the left-hand side to select it and apply it to your image.
- Click Next to confirm your mask.
-
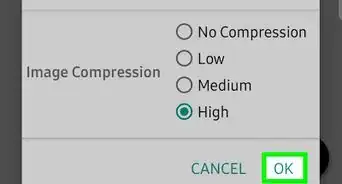
6Make sure your colors and cross size are correct in Stitch Parameters. Here you can change your parameters to modify the embroidery image, or leave the default settings unchanged.
- Click Next to confirm your parameters.
-
7Click Finish in the Edit Stitch window. This will close the pop-up window.
- Optionally, you can make manual adjustments and edit your stitch here before finalizing your PES file.
-
8Click the Send button on the top-right. This icon looks like a sewing machine and a paper in the upper-right corner of the window.
-
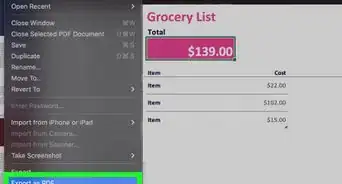
9Click the Write to Card option. This will allow you to create a PES file of your embroidery image.
-
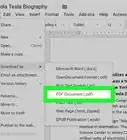
10Select PES Files as your file type. You can find it next to "Other:" here. This will create your PES file, and send it to your connected stitching equipment.


Advertisement
About This Article

wikiHow Staff
wikiHow Staff Writer
This article was co-authored by wikiHow Staff. Our trained team of editors and researchers validate articles for accuracy and comprehensiveness. wikiHow's Content Management Team carefully monitors the work from our editorial staff to ensure that each article is backed by trusted research and meets our high quality standards. This article has been viewed 47,422 times.
How helpful is this?
Co-authors: 6
Updated: May 27, 2022
Views: 47,422
Categories: Converting PDF Documents
Advertisement